Tutorial Tuesday
Hey friends!
In this tutorial we'll be going over the steps, techniques and tools I personally use to create beards using graphite pencils. Please keep in mind there are many ways and styles to go about using when doing realism portraits. Always remember to experiment and try new things, there's no "one correct way" of doing things!
With that out of the way lets begin!
The Tools:
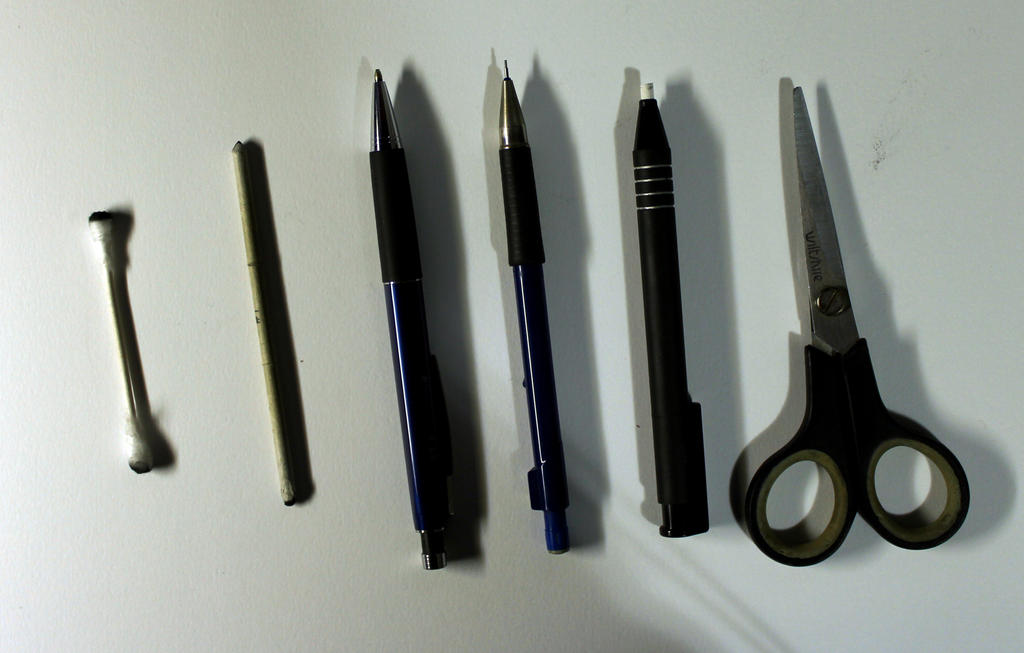
These are what I've used for as long a I can remember as my main blending tool for shading. People have used several different things for smudging/blending, such as tissues, blending stumps and even just their fingers! But I've always personally preferred cotton swabs. They accumulate excess lead and can be used to shade lighter areas without even having to use a pencil!
2) Blending Stump:
2) Blending Stump:
These come in a variety of sizes. The ends can be cleaned and made to a point by sand papering them down. These are very useful for precise blending of smaller areas.
3/4) Mechanical Pencils, 0.5mm 4B lead/0.7mm 2B lead:
The pencils you use are entirely down to preference. I have always preferred mechanical pencils for multiple reasons. I like the fact that at any point I can quickly snap the end of the lead to create a sharp edge, whereas with a wooden pencil you'd have to sharpen it very frequently to maintain a sharp edge/point.
5) THE MOST IMPORTANT TOOL, THE "TUFF STUFF ERASER STICK":
This tool is absolutely necessary for me. It's what I've used to draw white lines and textures for ages now. At a glance it's just a regular looking mechanical eraser, but the eraser itself is very tough and durable, hence the name! This allows you to "draw" white lines/highlights in your drawing. With a sharp edge, it's capable of cleanly erasing dark tones very easily.
The problem is this tool had become discontinued awhile ago. It has recently been put back on the market under a new name "Factis BM2". I have not personally purchased this remake yet, so I cannot vouch for it's ability. Though the Tuff Stuff is the best I've used, other mechanical erasers are still usable, as well as electric erasers and even kneaded erasers. What's important is being able to erase sections or lines with a sharp edge. This brings me to the last tool on the list, scissors. We use the scissors to cut the end of the eraser stick to keep the edges of it sharp at all times.
With the tools out of the way, lets make our way to actually starting a beard!
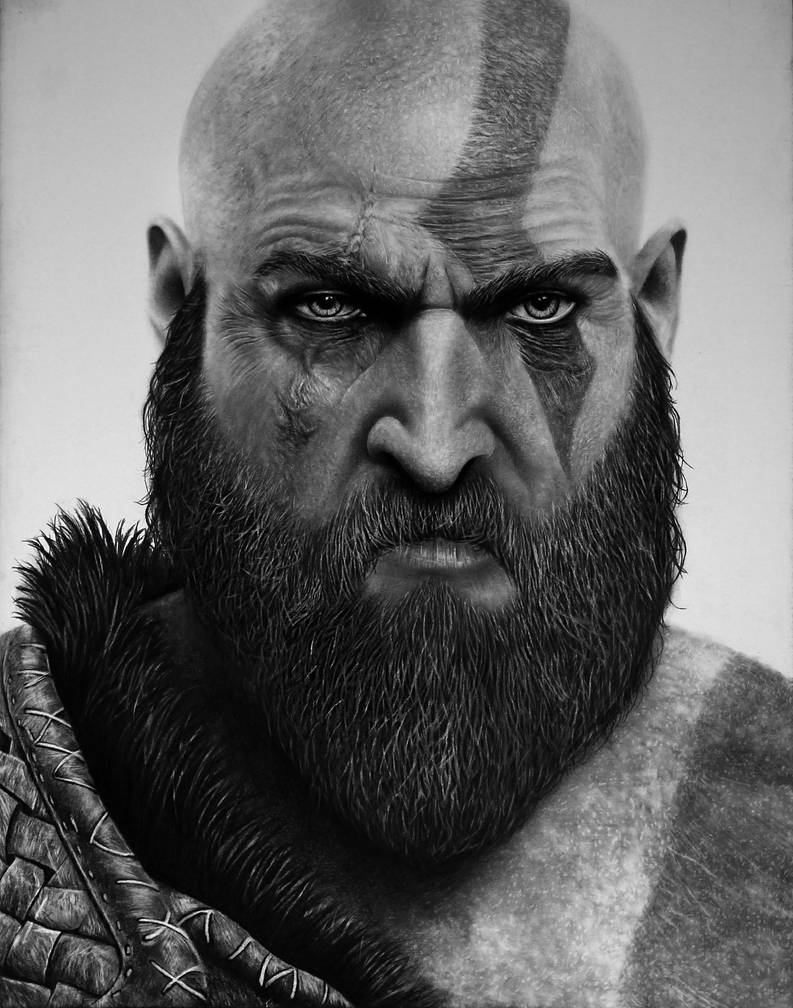
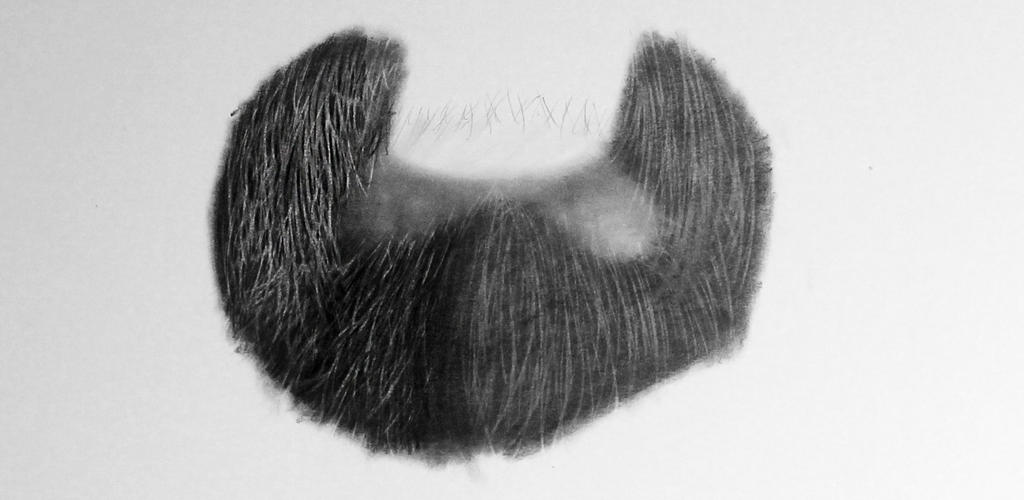
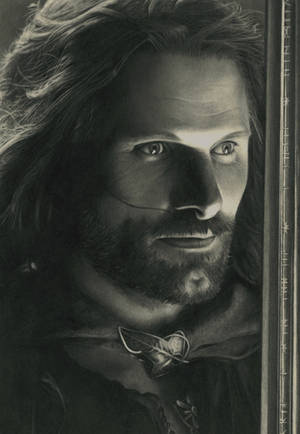
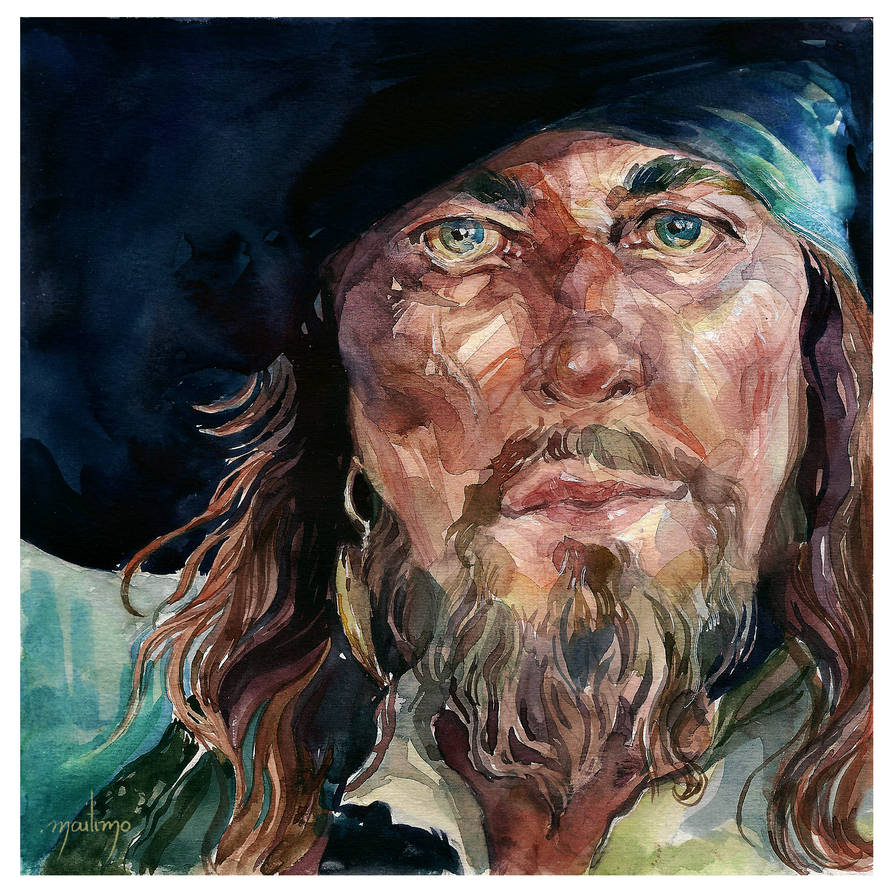
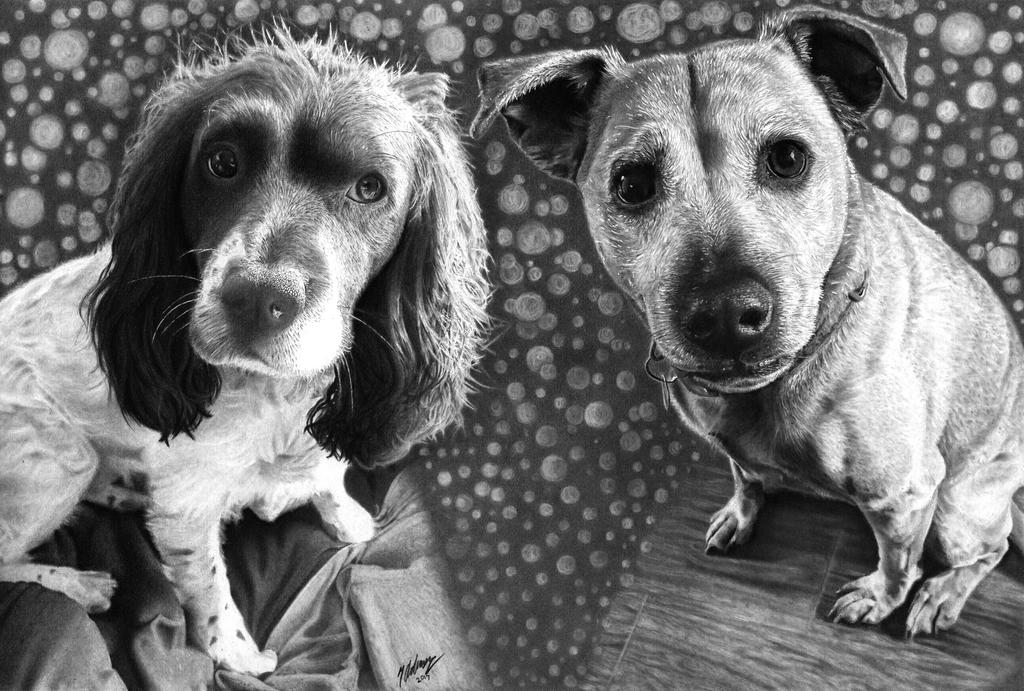
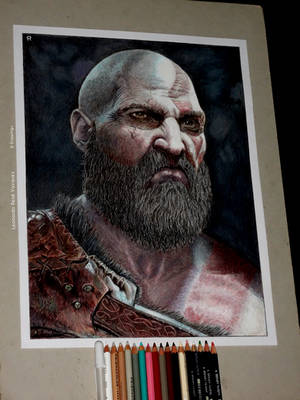
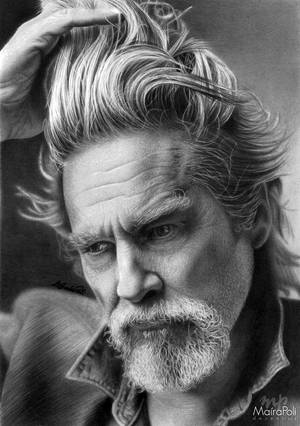
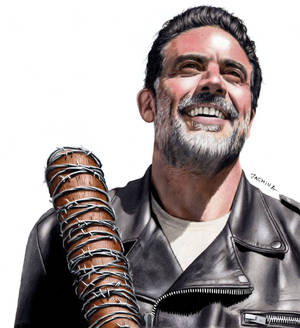
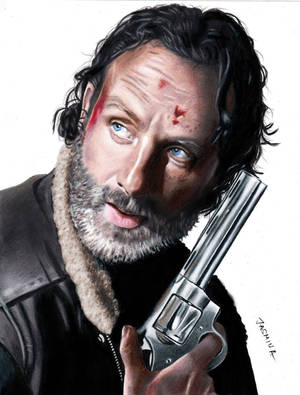
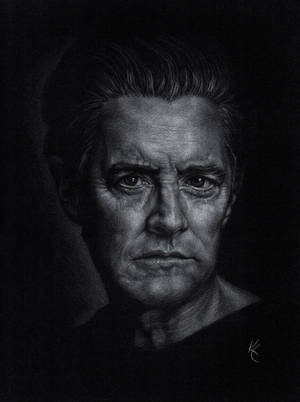
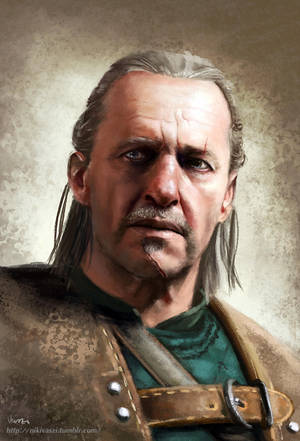
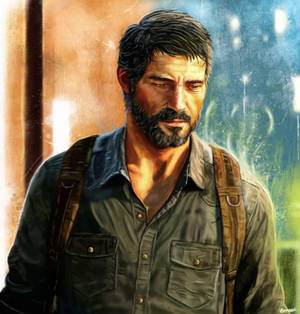
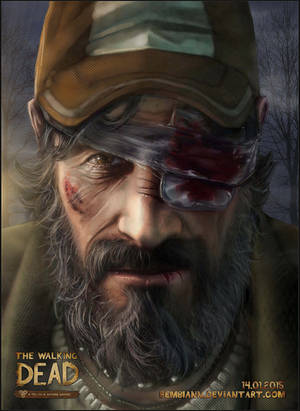
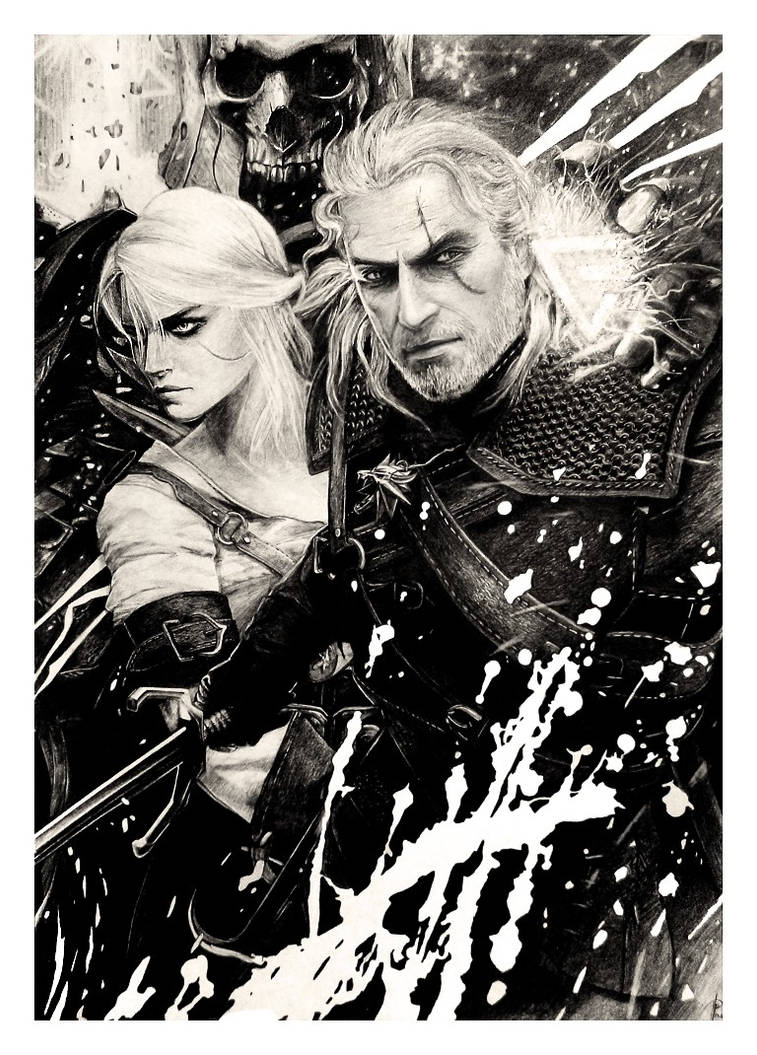
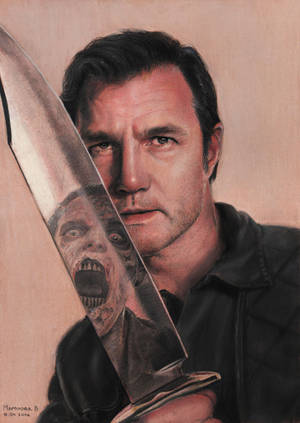
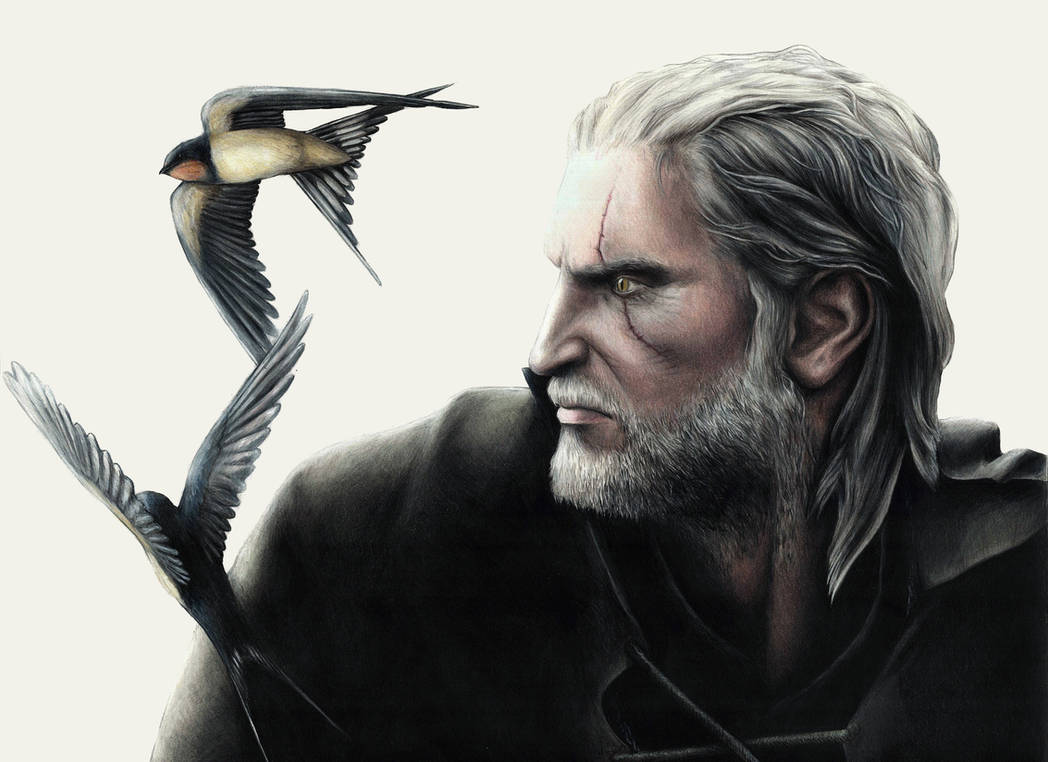
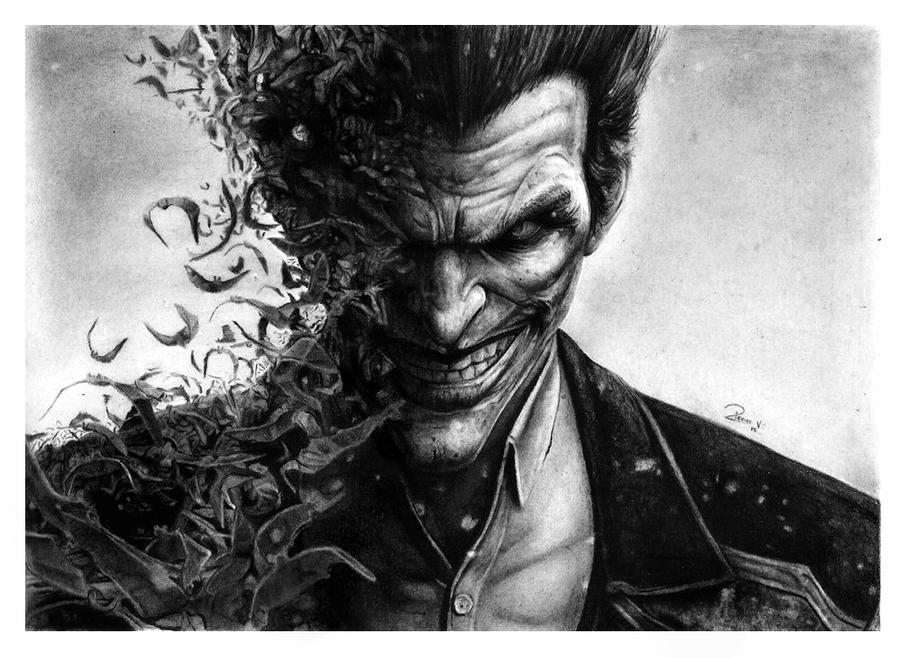
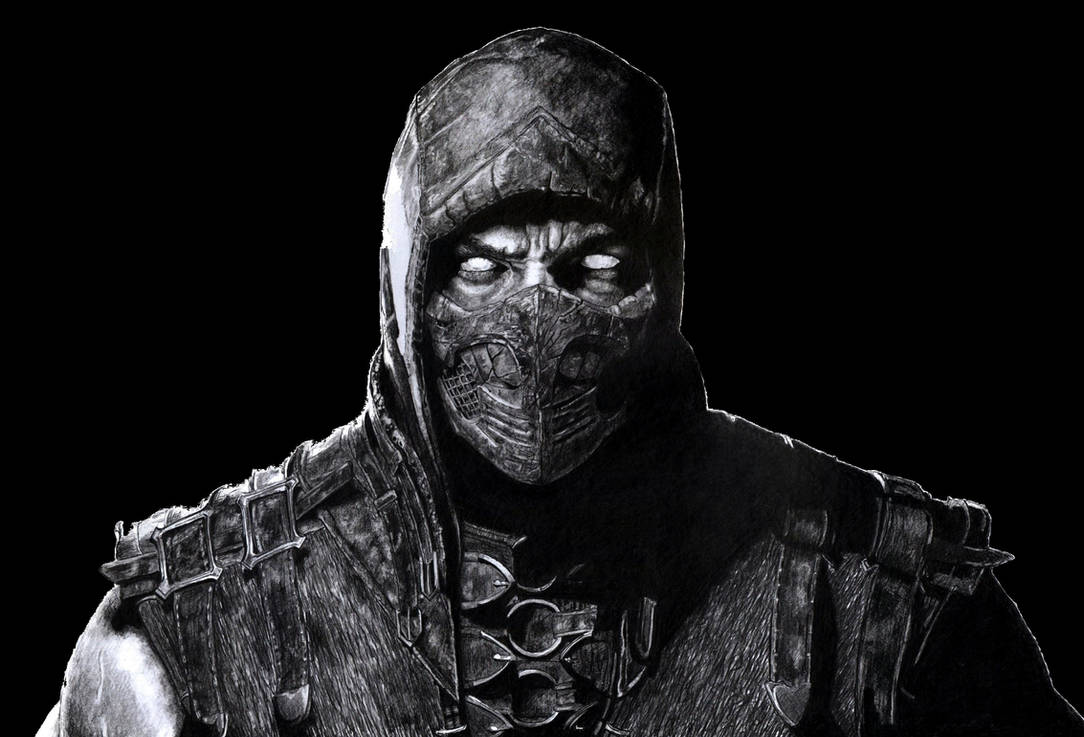
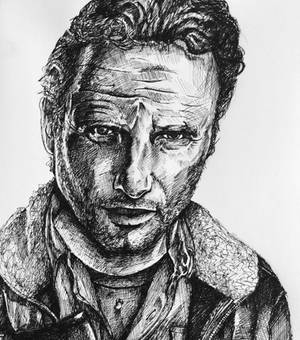
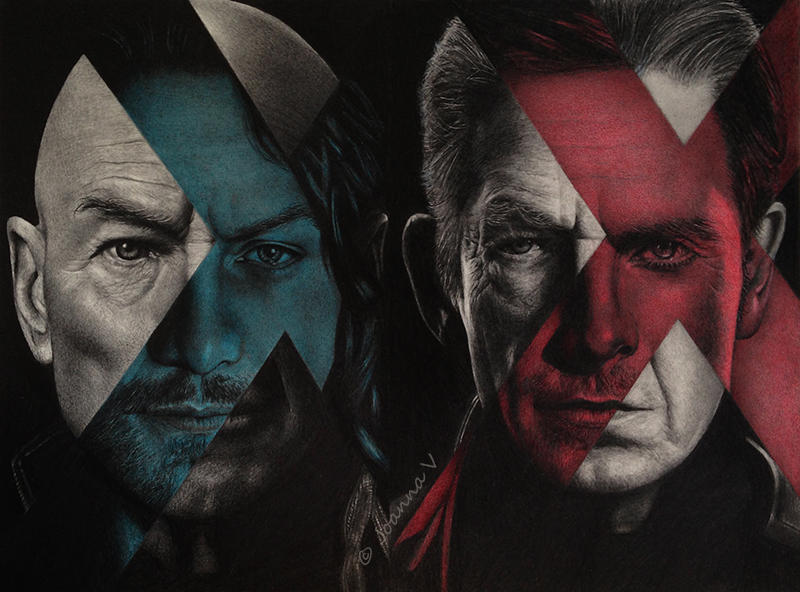
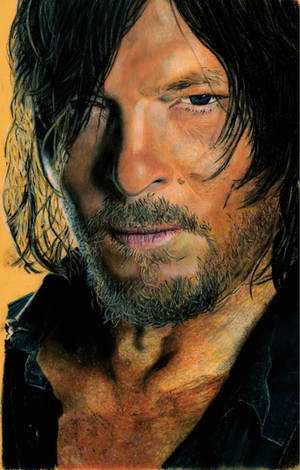
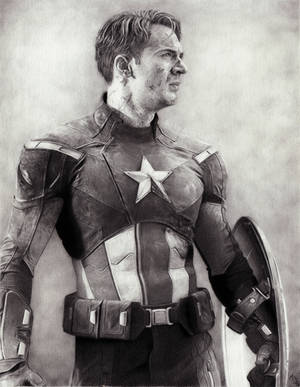
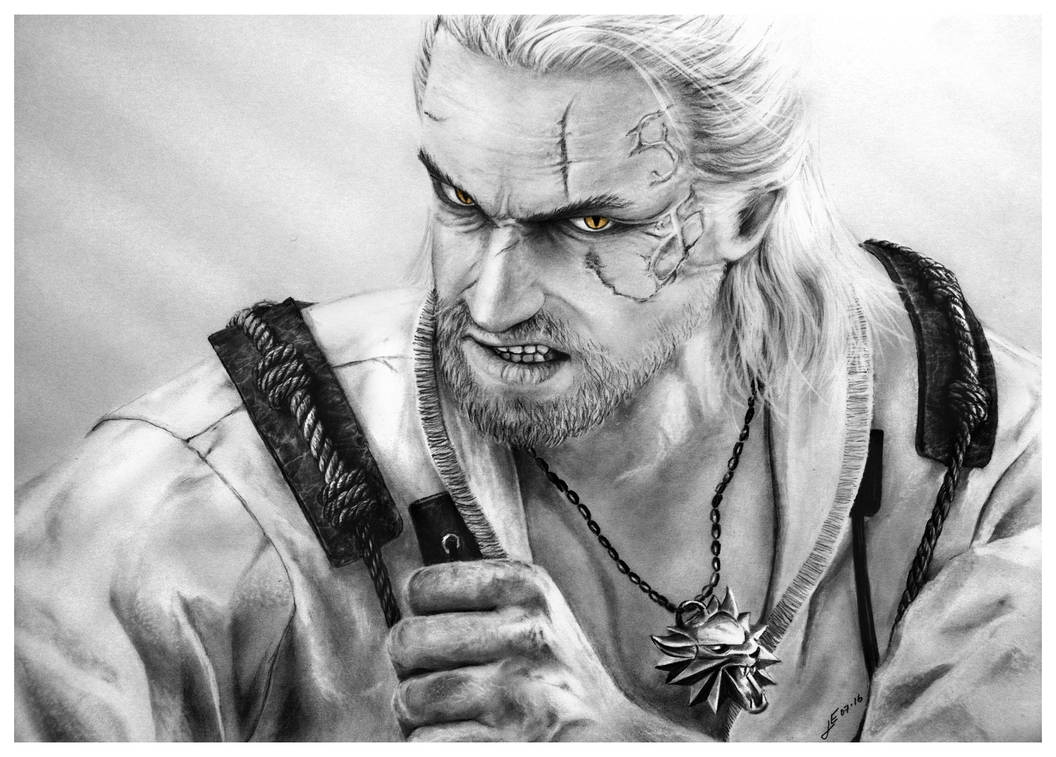
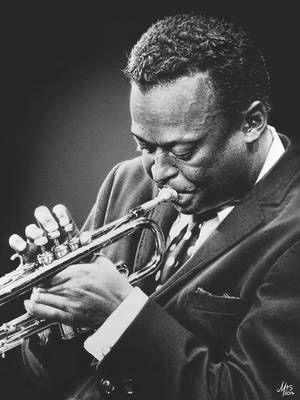
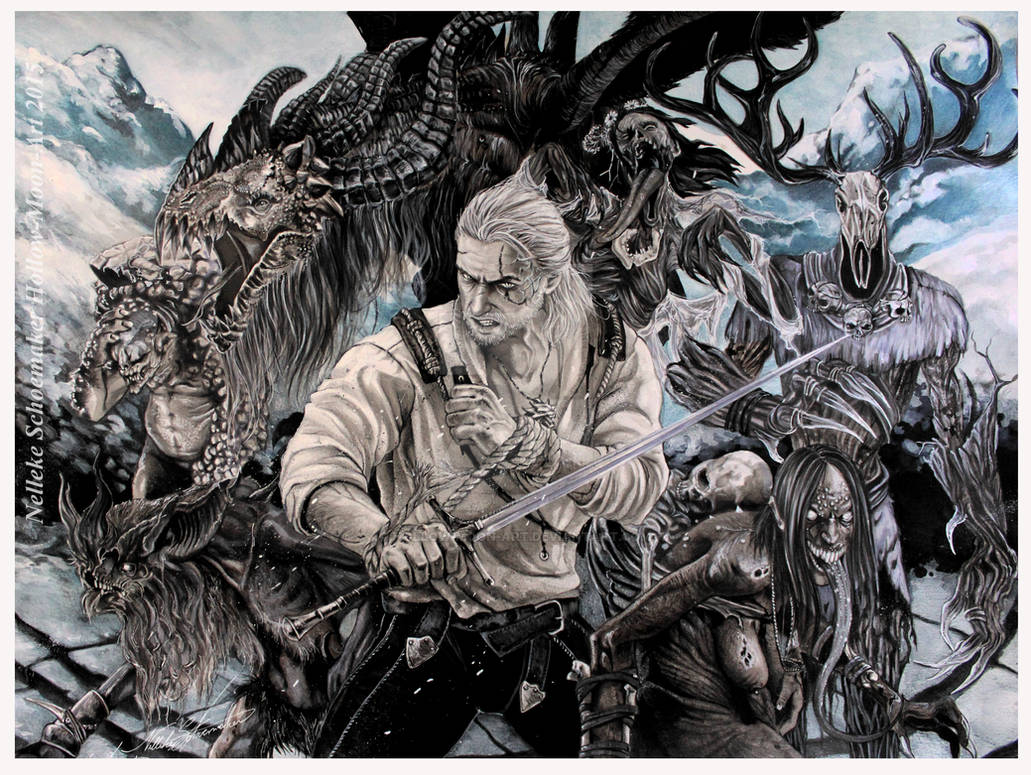
This is a recent example of my work and how I personally have been drawing beards. I tend to draw with a lot of strong contrast, and while not always looking exactly realistic, I'm left with an effect I enjoy. I tend to experiment and am still learning myself, but if the above example is something you'd like to achieve, then lets continue!
The Steps:
PATIENCE
One of the most important things to remember when doing realism portraits is to accept that you'll have to be patient. Almost all aspects of the drawing take multiple steps to achieve a desirable effect. Things will not look amazing right away, so don't be discouraged! Keep going with every small section you draw and try to squeeze in as much detail as you can! Time and dedication is key!
Beards and hair in general can be extremely time consuming. The more time you sink into them, the better they can look. (Though if you're drawing a portrait from reference, don't attempt to draw every hair as it is in the reference! For the sake of your own sanity and time).
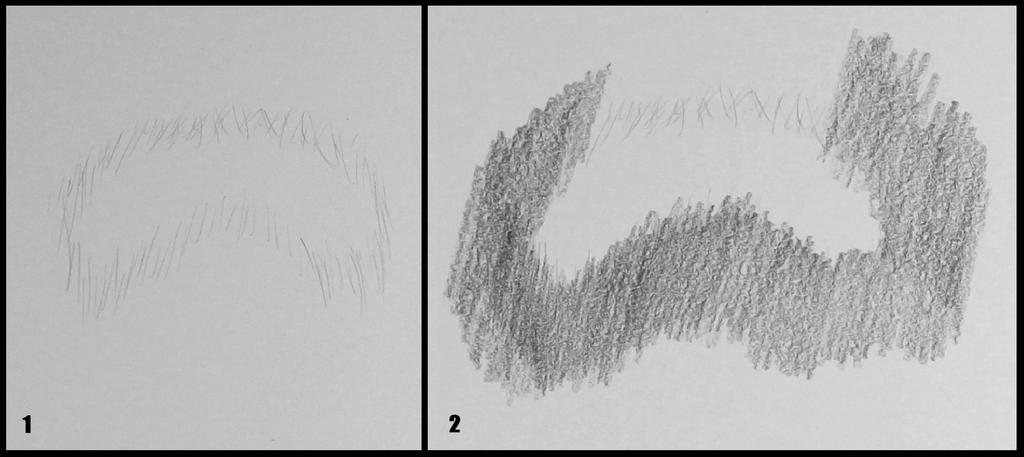
Steps 1 and 2:
The section we'll be doing is around the mouth, so start off by lightly sketching the outline of the area.
In step 2 we're going to start adding a base layer of graphite to work on. For the purpose of this drawing I've decided to only work on a small area, but if you're feeling determined go ahead and draw a larger base area to work with!
An important detail to remember: The darker the base layer you draw, the harder it is to eraser our white highlights! The Tuff Stuff eraser stick doesn't have much issue going through darker areas, but other erasers will have more difficulty. Kneaded erasers are quite capable, but are also much slower in process. The usefulness in a dark base layer is the depth that it will add, but it's not absolutely necessary! (We'll speak more about depth in a little bit).
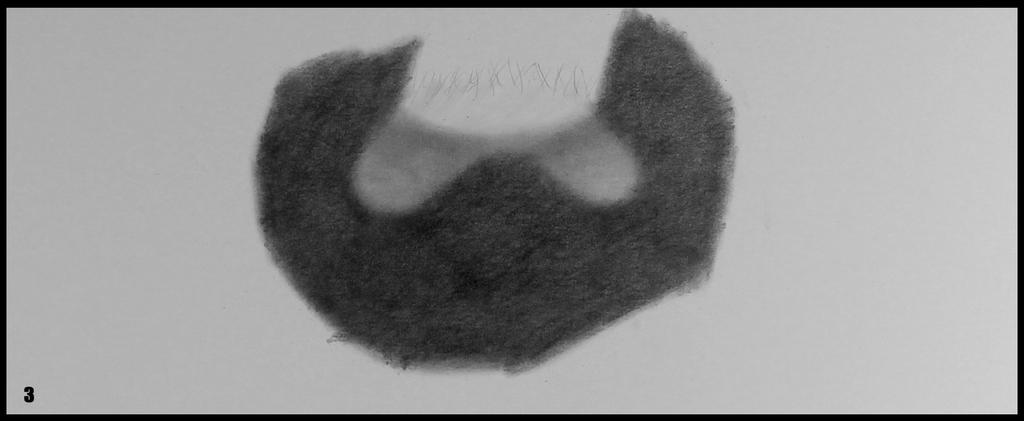
Step 3:
In this step we take the cotton swab (or blending tool of choice) and smooth out our base layer of graphite. It doesn't need to be perfectly blended, we're going to repeat this process multiple times.
The illusion of depth:
Beards and hair in general are not drawn by drawing every hair with a pencil stroke. Hair effects are created with multiple levels of depth and shades, white highlights AND pencil strokes. In this tutorial we'll be drawing the beard with several layers, starting from the base layer that would technically be "beneath" all the other hair, and gradually adding layer over layer of lighter lines.
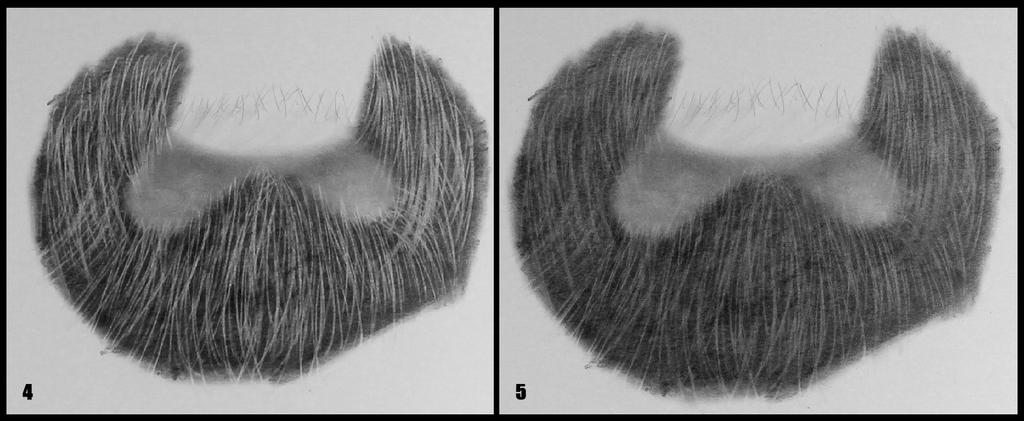
Step 4 and 5:
So now we'll take our eraser stick and draw out some lines. Remember to pay attention to the flow of the hair and have most of the hairs follow in a natural direction. You can change the direction of the lines here and there, but this first layer will be mostly hidden towards the end, so don't worry too much!
In step 5 we take the cotton swab to it again, and blur/smudge the lines we just created.
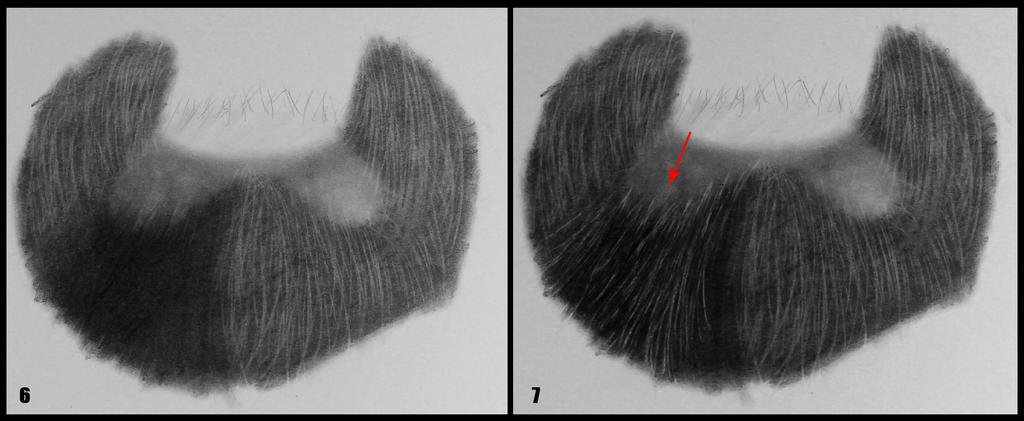
Step 6 and 7:
Now we're going to begin adding some depth!
Like we talked about earlier, to go about adding depth we're going to start with the darkest area first, and move towards the lightest areas last. In step 6 I've created a much darker base layer as this is one of the darkest sections of the beard in this particular reference. The area above which would be mustache hair, is supposed to be on top of the section we're doing now, so the mustache will be done later. As you can see most of the lines we created in the last step are no longer there; what's left is extremely subtle. Again the purpose of these layers will create depth in the future.
In step 7 I draw out a few more white lines, and these will act as our second layer. When hair attaches to a visible section of skin, a mixture of white lines and dark pencil strokes is often used. In most cases you don't want these lines to be too sharp or bright. Use a kneaded eraser to lighten the dark pencil strokes, and use your cotton swab to blend the white lines into the skin.
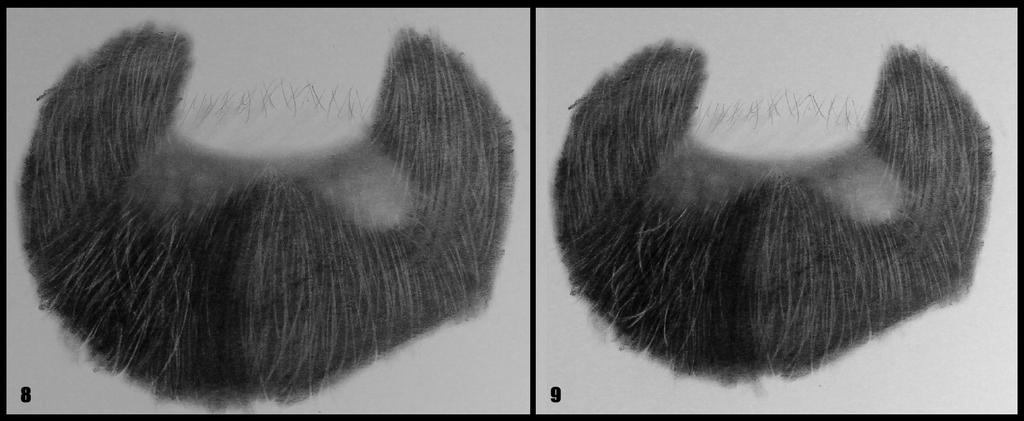
Step 8 and 9:
For this next layer of hair, we're going to focus on strands of hair that are breaking away from the natural flow. These highlights need to go in more random, yet still believable directions. Change your hand position, spin the paper, do whatever you need to you allow yourself to make some wild hairs! Just remember to keep it random and to change position often, or else your lines will look like they were placed on purpose, which won't look natural. Also keep in mind to not draw too many hairs. The more you draw on each layer, the more you erase of the layer before it!
In step 9, we take our cotton swab and very lightly darken some of the lines again. By this point we've got what's basically 4 layers of hair with various tones, with only very few actually looking "white" and being on the "top" layer.
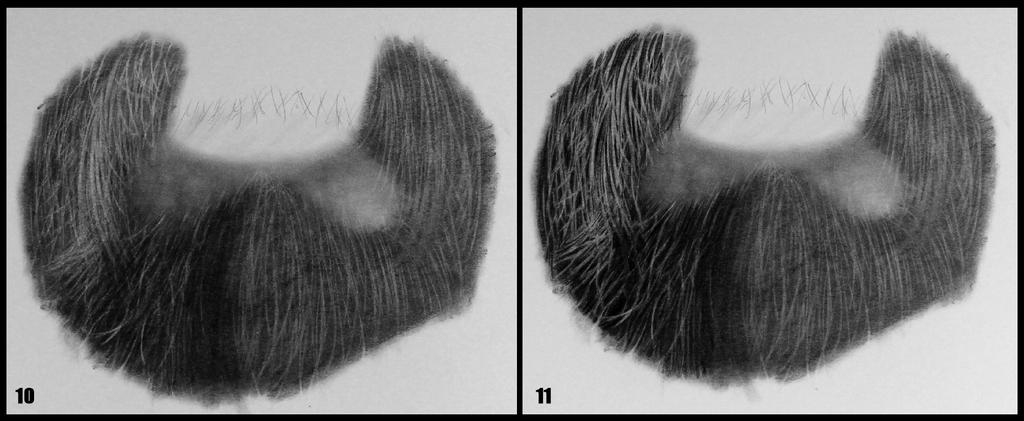
Step 10 and 11:
So with the darker section out of the way, we're going to move onto the lighter section above it. I kept my base tone the same as it was when I started, and repeated the above steps all the same. In step 10 we've got about 3 layers of hair going on currently, with some of the white highlights extending over top of the dark section we just did.
In step 11, I use a different method than we originally used. Rather than starting with a dark base tone, I instead darkened the area around the white hairs so that they would pop and to give them definition.
The reason I didn't start with a dark base tone, is because I knew most of the hair was going to be light in color. It can be difficult to erase very white lines from very dark sections, so this method seemed best to me. Keep in mind this method can be extremely time consuming, especially when dealing with sections that have a lot of detail to work around. This is also another reason why the "Tuff Stuff" eraser stick has been so important to me. No other tool I've used has been as capable of erasing sharp, white lines from dark sections so easily, though it has its limits of course.
Final Step:
The final touch-ups are to do as we've done before, and use our cotton swab to lightly darken sections of the hair to give it a bit more variance in tone, and to prevent all our newest lines from being too white. After that, these steps are basically rinse and repeat for the majority of the beard!
Final notes:
All beards are different. This particular beard had a lot of lighter sections to it, whether it be actual grey hairs, or just the way the light was catching it. Some beards will be far darker, some will be completely white. The way they're all drawn though will be fairly similar. The darker the beard, the easier it will be to draw for the most part. It will be mostly black, with a couple layers of highlights on top of it. The whiter the beard, the more layers of depth you'll have to add to make it look realistic, and the more actual lines you'll have to draw with your eraser.
I hope this tutorial was helpful or maybe gave you some ideas. Remember to experiment, and never be afraid to try something new. You won't grow if you don't try to break from your comfort zones!
Thanks for viewing!
